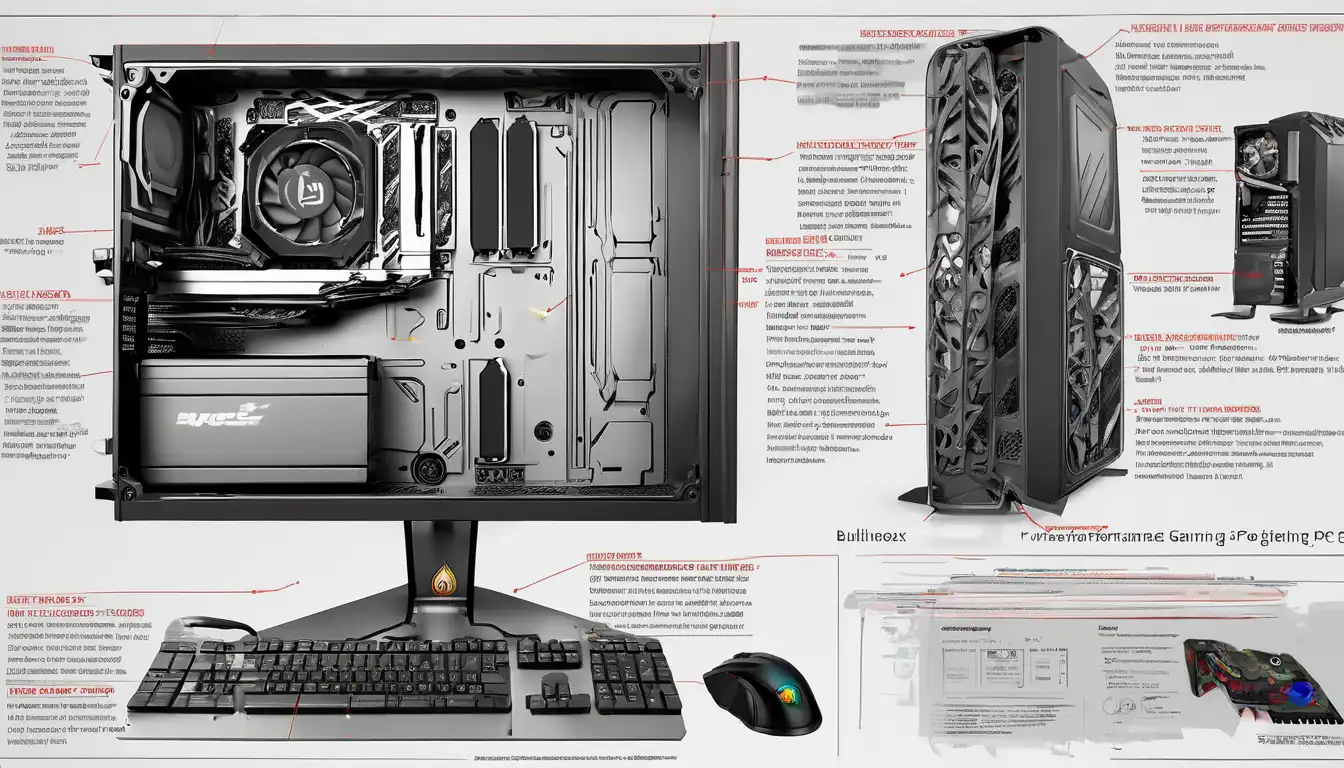
Introduction to High-Performance Gaming PC Assembly
Building a high-performance gaming PC represents one of the most rewarding experiences for any gaming enthusiast. Unlike pre-built systems, custom-built computers allow for complete control over component selection, ensuring optimal performance tailored to specific gaming needs. This comprehensive guide walks you through the entire process, from selecting compatible components to final assembly and optimization.
Essential Components for Your Gaming Rig
Central Processing Unit (CPU)
The CPU serves as the brain of your gaming PC, handling critical calculations and instructions. For gaming purposes, focus on processors with high single-core performance, as most games rely heavily on this metric. Modern gaming builds typically utilize CPUs from Intel's Core i5/i7/i9 series or AMD's Ryzen 5/7/9 processors. Consider your budget and gaming requirements when selecting between these options.
Graphics Processing Unit (GPU)
Arguably the most crucial component for gaming performance, the GPU renders images, textures, and complex visual effects. High-end gaming demands powerful graphics cards from NVIDIA's RTX series or AMD's Radeon RX lineup. When choosing a GPU, consider factors like VRAM capacity, cooling solutions, and power requirements to ensure compatibility with your overall build.
Motherboard Selection
The motherboard acts as the central hub connecting all components. Key considerations include chipset compatibility with your chosen CPU, available expansion slots, RAM capacity, and connectivity options. Ensure your motherboard supports the latest standards like PCIe 4.0/5.0 for future-proofing your investment.
Memory (RAM)
Modern gaming systems benefit significantly from 16GB to 32GB of DDR4 or DDR5 RAM. Higher frequency RAM can provide noticeable performance improvements in memory-intensive games. For optimal performance, install RAM in dual-channel configuration as specified in your motherboard manual.
Storage Solutions
Combine fast NVMe SSDs for your operating system and frequently played games with larger capacity SATA SSDs or HDDs for additional storage. NVMe drives dramatically reduce loading times and improve overall system responsiveness.
Power Supply Unit (PSU)
Select a high-quality PSU with sufficient wattage to power all components comfortably. Look for units with 80 Plus Bronze certification or higher for better efficiency. Modular PSUs simplify cable management, improving airflow within your case.
Cooling Systems
Effective cooling maintains optimal performance during extended gaming sessions. Options include air cooling with large heatsinks or liquid cooling solutions for superior thermal management. Proper case ventilation with strategically placed fans ensures consistent component temperatures.
Step-by-Step Assembly Process
Preparation and Safety
Begin by gathering all necessary tools and components in a static-free workspace. Use an anti-static wrist strap to prevent electrostatic discharge damage to sensitive components. Read all component manuals thoroughly before beginning assembly.
Motherboard Installation
Install the CPU, RAM, and M.2 SSD onto the motherboard before mounting it in the case. Apply thermal paste appropriately if using an aftermarket CPU cooler. Carefully align the motherboard with standoffs in the case and secure it firmly.
Power Supply and Storage
Mount the PSU in its designated compartment, routing cables through appropriate management channels. Install storage drives in their respective bays, connecting power and data cables securely.
Graphics Card Installation
Remove appropriate PCIe slot covers from the case rear. Insert the graphics card firmly into the primary PCIe x16 slot, ensuring the retention clip engages properly. Connect necessary power cables from the PSU.
Cable Management
Organize cables using zip ties and routing channels to maximize airflow. Proper cable management not only improves aesthetics but also enhances cooling efficiency throughout the system.
Final Connections and Testing
Connect front panel headers, USB ports, and audio jacks according to motherboard documentation. Double-check all power connections before performing an initial power-on test outside the case. If successful, complete final assembly and proceed to software installation.
Software Setup and Optimization
Operating System Installation
Create a bootable USB drive with your preferred operating system, typically Windows 10 or 11 for gaming. Install necessary drivers for all components, starting with chipset drivers followed by graphics card drivers.
BIOS/UEFI Configuration
Access your motherboard's BIOS/UEFI to enable XMP/DOCP profiles for RAM optimization. Configure fan curves for optimal cooling performance and ensure all components are recognized correctly.
Performance Tuning
Use manufacturer utilities like NVIDIA Control Panel or AMD Adrenalin Software to optimize graphics settings. Consider slight overclocking where appropriate, but prioritize system stability over marginal performance gains.
Maintenance and Upgrades
Regular maintenance ensures long-term performance. Clean dust filters monthly and perform thorough internal cleaning every six months. Monitor component temperatures using software utilities and replace thermal paste annually for optimal cooling efficiency. When considering upgrades, prioritize components that will provide the most significant performance improvements based on your specific gaming needs.
Troubleshooting Common Issues
Common building issues include failure to POST, which can often be resolved by reseating RAM and checking power connections. For performance problems, ensure all drivers are updated and monitor temperatures during gaming sessions. Consult online communities and manufacturer support for persistent issues.
Conclusion
Building a high-performance gaming PC requires careful planning and execution but delivers unparalleled satisfaction and customization options. By following this guide and selecting quality components, you'll create a system capable of handling the latest games at maximum settings. Remember that PC building is an ongoing journey—stay informed about new technologies and upgrade strategically to maintain peak performance.
For more detailed information on specific components, check out our gaming hardware comparison guide or explore our budget gaming PC recommendations for cost-effective alternatives.